Reolink E1 Outdoor WiFi IP Camera - User Guide
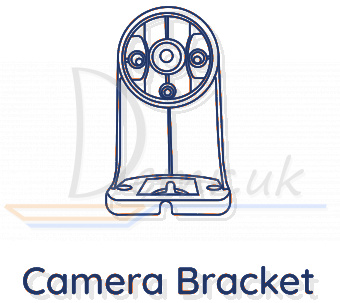
What's in the Box - Reolink E1 Outdoor Wi-Fi Camera


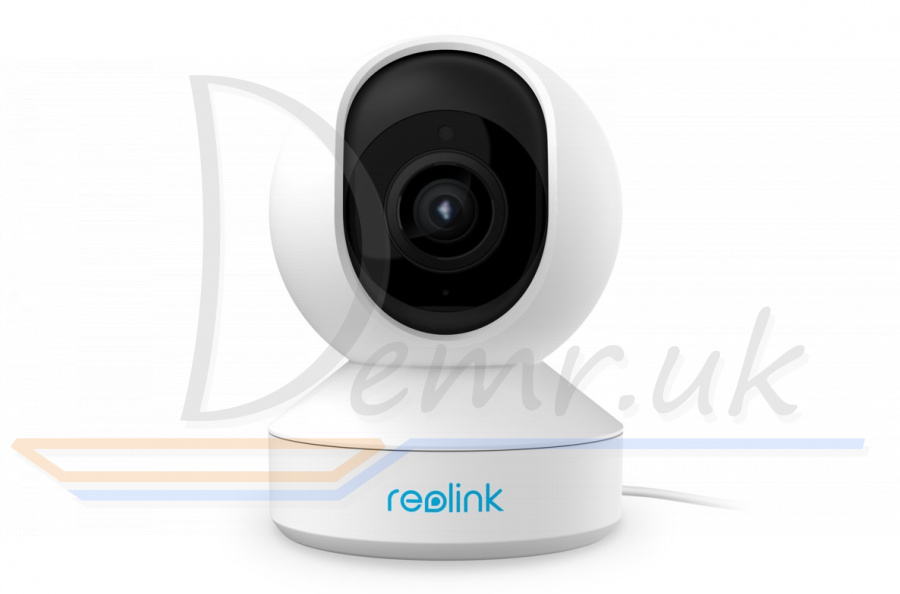
Reolink E1 Outdoor Camera Introduction
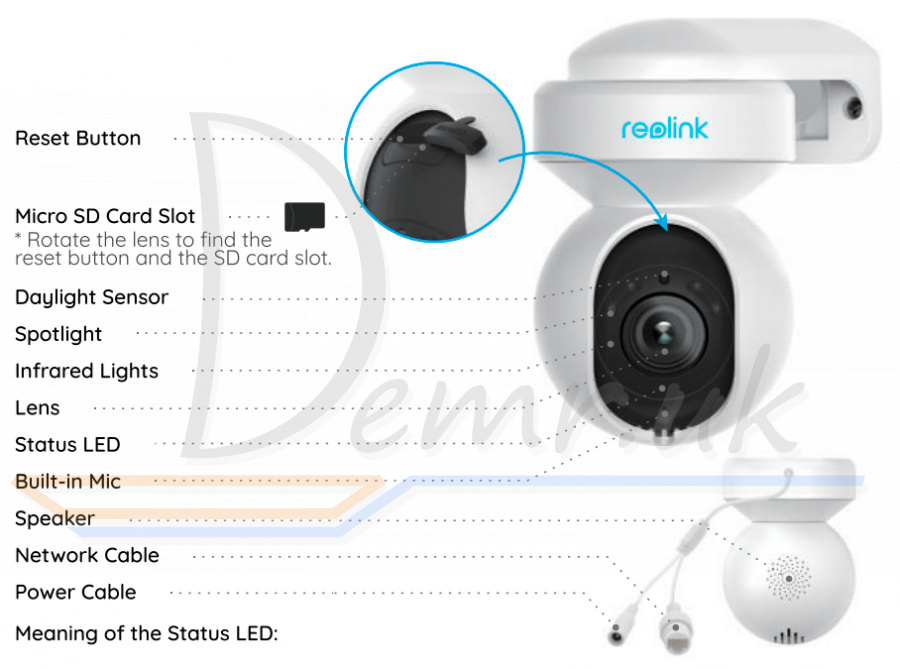
Meaning of the Status LED:
| Status/LED | Blinking | Solid |
| LED in Blue | WiFi connection failed WiFi is not configured |
Camera is starting up WiFi connection succeeded |
Factory Reset - Reolink E1 Outdoor
Press for more than five seconds to restore the device to default settings.
How to connect a Phone to Reolink E1 Outdoor Smart Camera
Wireless Setup
If you set up Reolink E1 Outdoor without the Ethernet cable, you may follow the steps below.
Step 1 Use the power adapter provided to power on the camera.
Step 2 Launch the Reolink App, click the " " button in the top right corner to add the camera. Scan the QR code on the device and follow the onscreen instructions to finish initial setup.
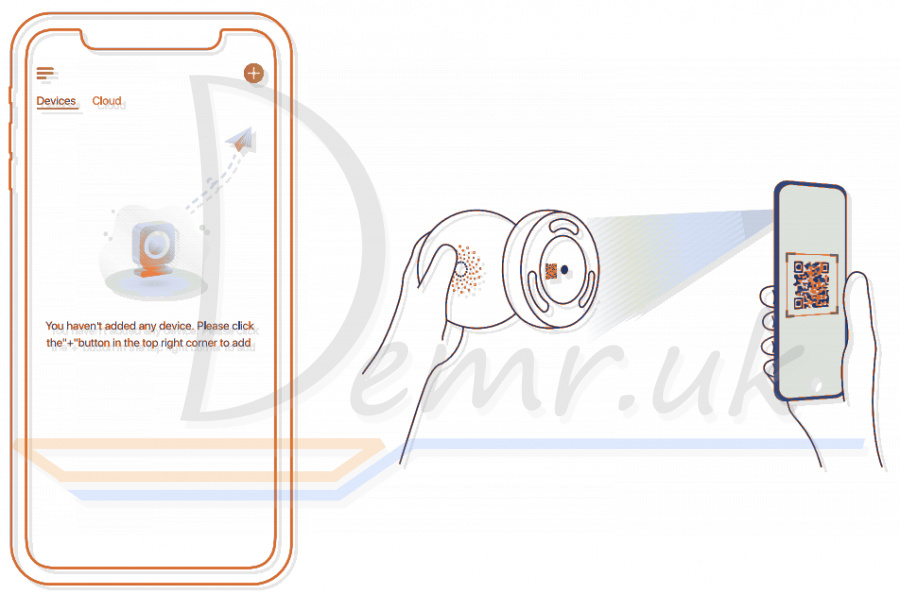
NOTE: If you access Reolink E1 Outdoor camera via the Reolink Client, you may click the Add Device icon and choose the UID option to enter the UID of your camera. The UID is on the camera body (right below the QR code).
Wired Setup
It is recommended that the initial setup be completed with the Ethernet cable. You may follow the steps below to set up your camera.
Step 1 Connect Reolink E1 Outdoor camera to a LAN port on your router with an Ethernet cable.
Step 2 Use the power adapter provided to power on the camera.

Step 3 Download and launch the Reolink App or Client software, and follow the onscreen instructions to finish initial setup.
On Smartphone
Scan to download the Reolink App

On PC
Download path of the Reolink Client: Go to https://reolink.com>Support>App&Client.
Mount Reolink E1 Outdoor Camera
Mount the Camera to the Wall
To mount Reolink E1 Outdoor camera outdoors, you may follow the steps below.
NOTE: For outdoor use, E1 Outdoor must be installed upside down for better waterproof performance.
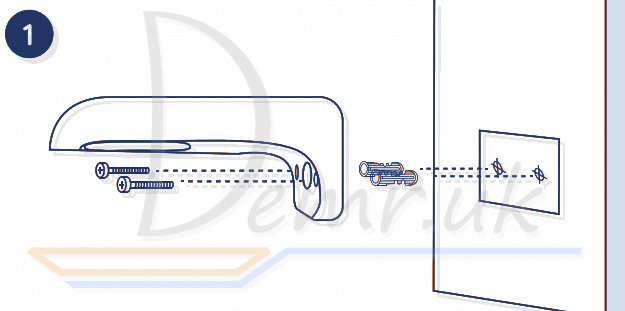
Drill holes in accordance with the mounting template and screw the security mount to the wall.
NOTE: Use the drywall anchors included in the package if needed.
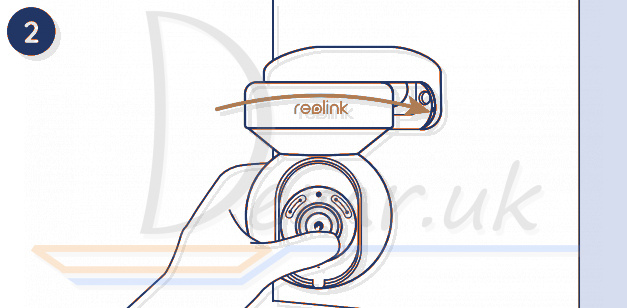
Screw Reolink E1 Outdoor camera to the security mount and adjust it to the proper direction.
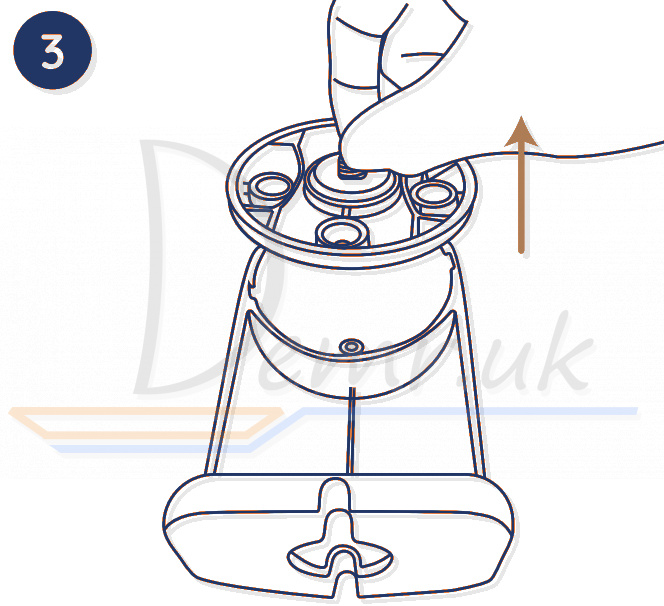
Mount the Camera to the Ceiling
Loosen the screw on security mount and remove the ceiling bracket from the mount.

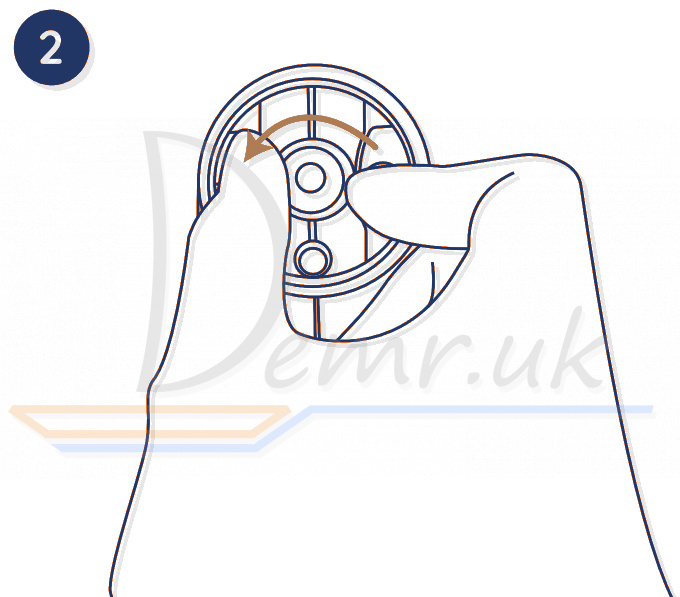
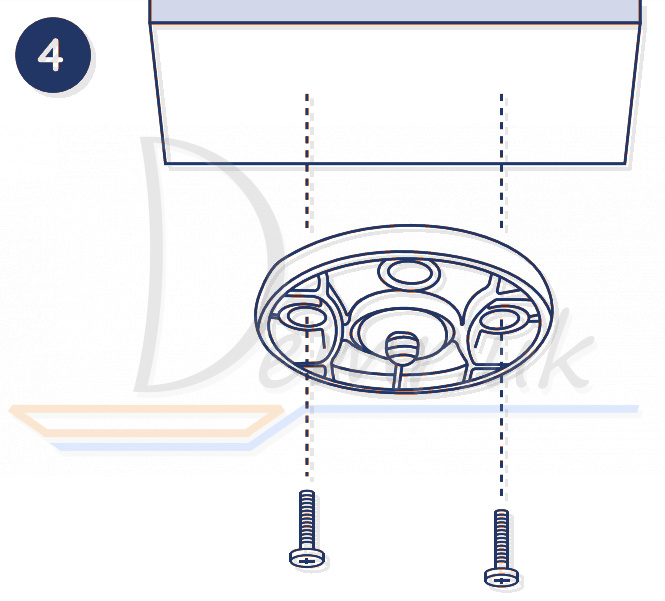
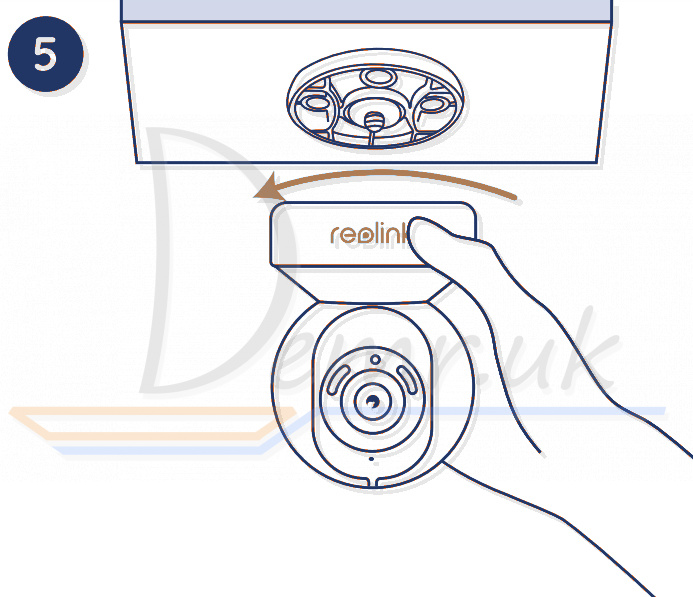
Install the bracket to the ceiling. Align Reolink E1 Outdoor camera with the bracket and turn the camera unit clockwise to lock it in position.
Troubleshooting - Reolink E1 Outdoor
Camera Is Not Powering on
If your Reolink E1 Outdoor camera is not powering on, please try the following solutions:
• Plug the camera into another outlet.
• Use another 12V power adapter to power on the camera.
WiFi Connection Failed During Initial Setup Process
If Reolink E1 Outdoor camera failed to connect to WiFi, please try the following solutions:
• Please ensure you have entered the correct WiFi password.
• Put your camera close to your router to ensure a strong WiFi signal.
• Change the encryption method of the WiFi network to WPA2-PSK/WPA-PSK (safer encryption) on your router interface.
• Change your WiFi SSID or password and make sure that SSID is within 31 characters and password is within 64 characters.
• Set your password using only the characters on the keyboard.
Specifications
Hardware
Display Resolution: 5MP
IR Distance: 12 meters (40 ft)
Pan/ Tilt Angle: Horizontal: 355° / Vertical: 50°
Power Input: DC 12V/1A
Software Features
Frame Rate: 20fps (default)
Audio: Two-way audio
IR Cut Filter: Yes
General
Operating Frequency: 2.4/5GHz Dual-band
Operating Temperature: -10°C to 55°C (14°F to 131°F)
Size: 84.7x117.8 mm
Weight: 380g
Read also
Ring Stick Up Cam Battery (3rd Generation) Wi-Fi IP Camera - Manual
Read also
User manual - Victure PC420 WiFI IP Camera. How to mount, Mobile app...
Installation guide - Reolink Go WiFI IP Camera. How To connect to a Phone, Mounting...
Manual - Arenti GO1. Factory reset, Connecting to a phone...
Manual - TP-LINK Tapo C200 Camera. How To connect to a Phone, Mounting...
User guide - Reolink Argus 3 Pro WiFI Camera. Mobile app, Specification...
Ratings
14 Best Indoor Wireless Security Cameras. Reviews, Characteristics...
Top 15 Outdoor Wi-Fi Security Cameras. Reviews, Characteristics...