Reolink Argus 3 Pro WiFi IP Camera - User Guide
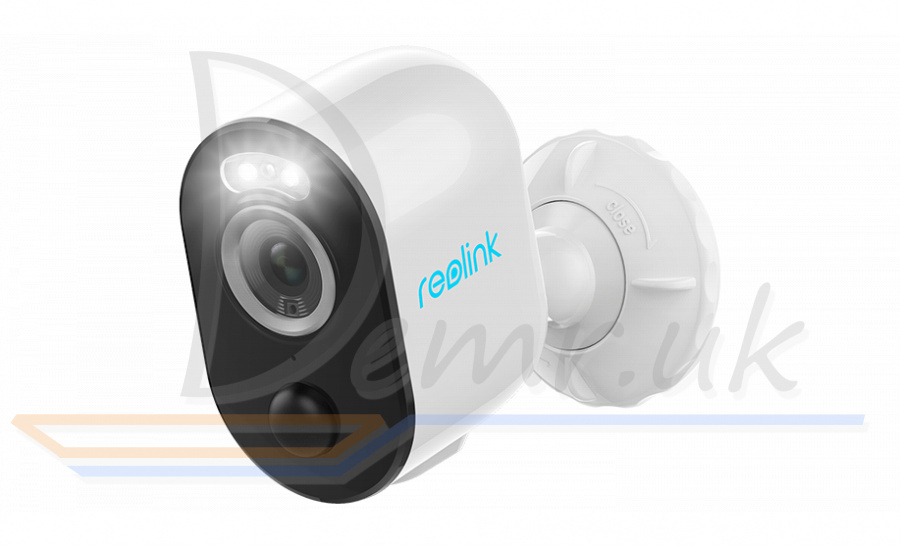
What's in the Box - Reolink Argus 3 Pro Smart Wi-Fi Camera



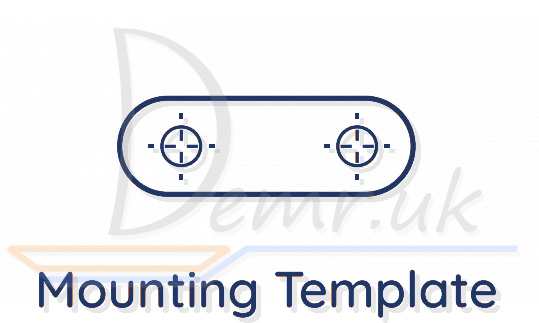
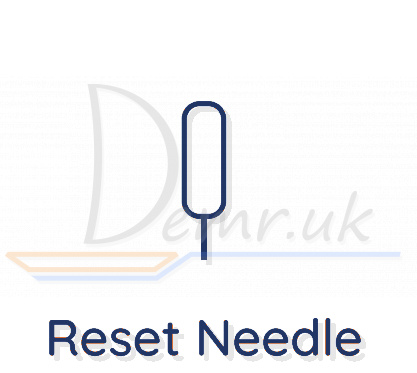


NOTE
* The magnetic bracket only comes with the Argus 3 Pro.
* Quantity of accessories varies with the model of your Reolink Argus 3 Pro camera.
Reolink Argus 3 Pro Camera Introduction
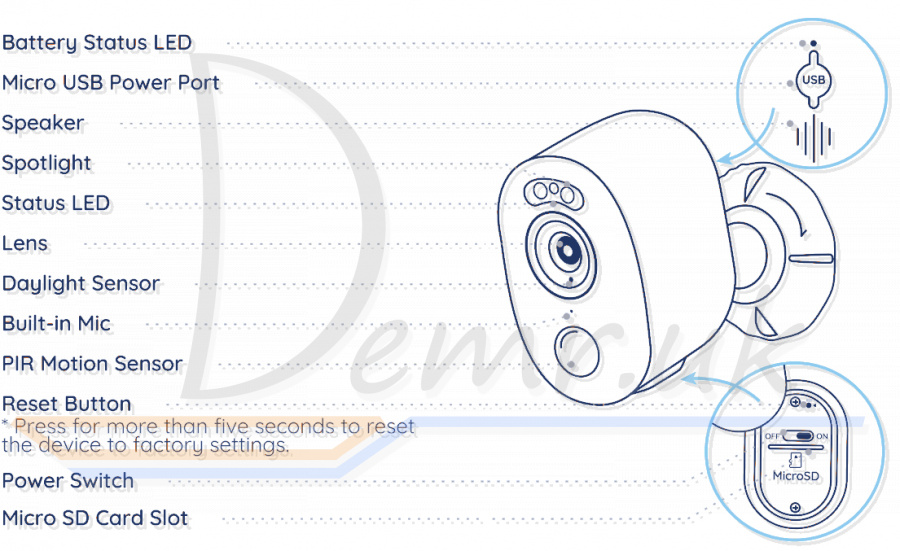
Factory reset: Press for more than five seconds to reset the device to factory settings.
NOTE: Always keep the rubber plug closed firmly.
Different states of the status LED: Red Light: WiFi connection failed
  Blue Light: WiFi connection succeeded
Blinking: Standby status
On: Working status
Set up Reolink Argus 3 Pro Camera using a Smartphone
Step 1 Scan to download the Reolink App from the App Store or Google Play store.

Step 2 Turn on the power switch to power on the camera.
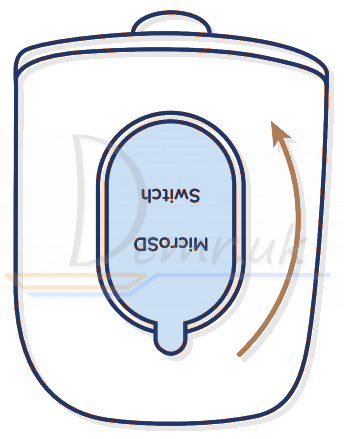
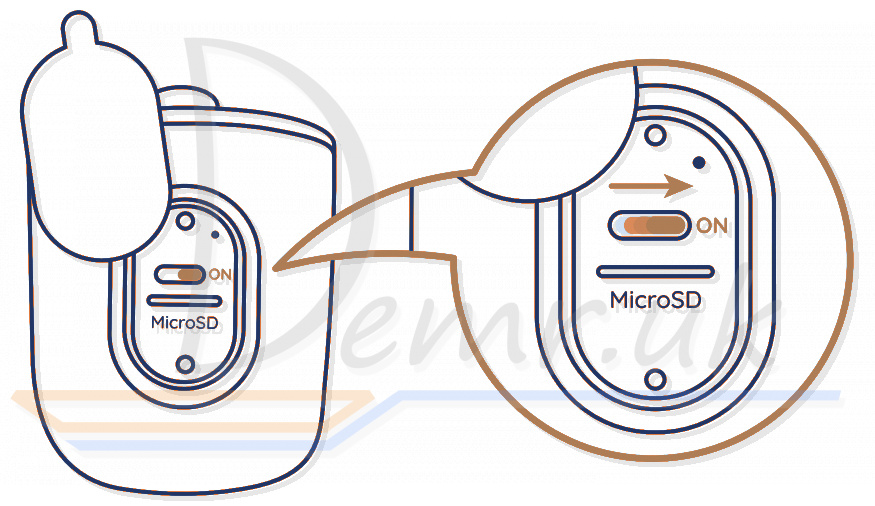
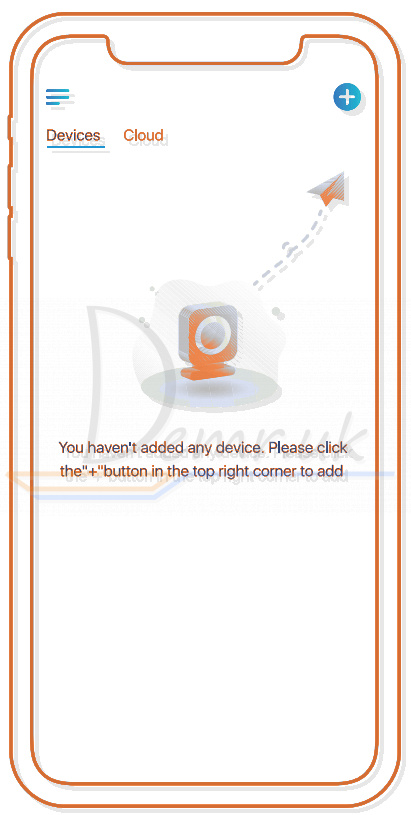
Step 3 Launch the Reolink App, and click the  button in the top right corner to add the camera.
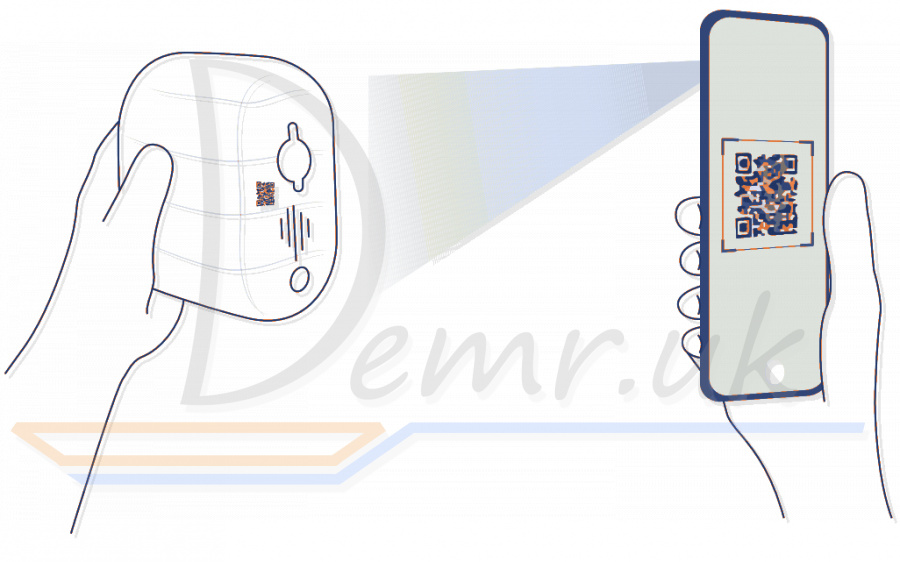
Scan the QR code on the device and follow the onscreen instructions to finish the initial setup.
Set up Reolink Argus 3 Pro Camera on PC (Optional)
Step 1 Download and install the Reolink Client: Go to https://reolink.com > Support > App & Client.
Step 2 Launch the Reolink Client, click the  button, input the UID code of Reolink Argus 3 Pro camera to add it and follow the onscreen instructions to finish the initial setup.
Charge the Battery - Reolink Argus 3 Pro
It's recommended to fully charge the battery before mounting the camera outdoors.
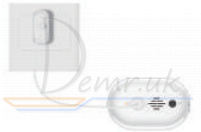
Charge the battery with a power adapter.
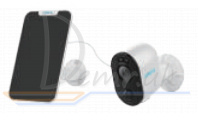
Charge the battery with the Reolink Solar Panel (Not included if you only purchase the camera).
Charging indicator: Orange LED: Charging
 Green LED: Fully charged
For better weatherproof performance, always keep the USB charging port covered with the rubber plug after charging the battery.
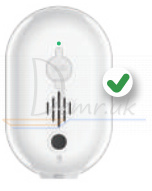
Install the Camera - Reolink Argus 3 Pro
Notes on Camera Installation Position
• Install Reolink Argus 3 Pro camera 2-3 meters (7-10ft) above the ground to maximize the detection range of the PIR motion sensor.
• For effective motion detection, please install the camera angularly.
NOTE: If a moving object approaches the PIR sensor vertically, the camera may fail to detect motion.
Mount the Camera to the Wall
It is suggested to use the security bracket to install the camera when mounting it outdoors.
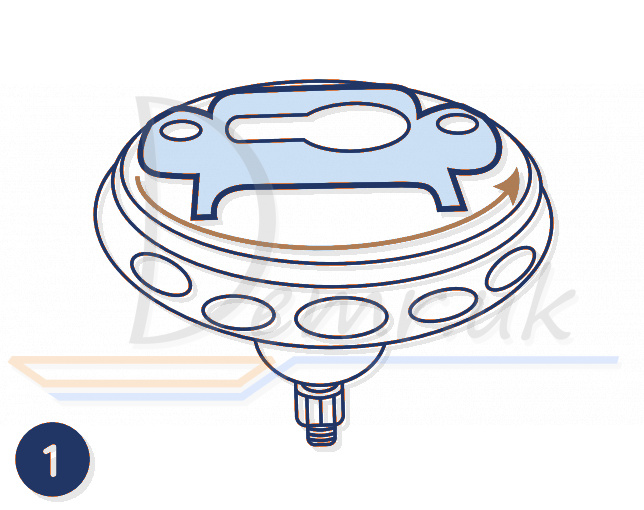
Rotate the base to separate it from the bracket.
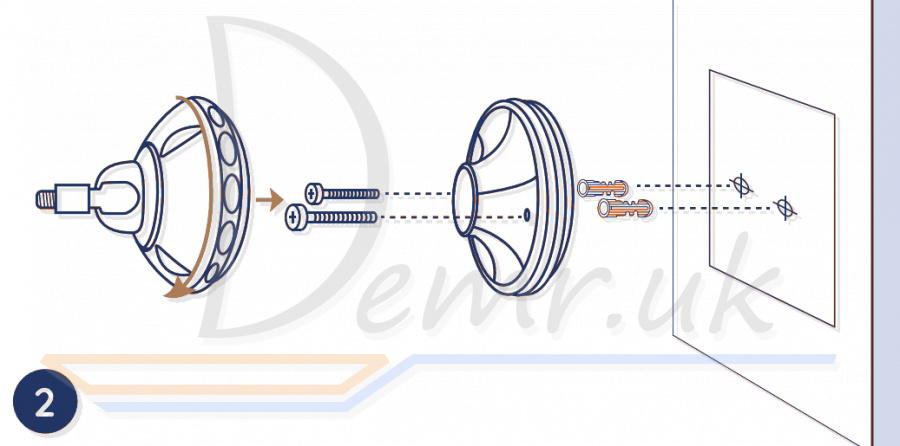
Drill holes in accordance with the mounting template and screw the base of the bracket to the wall. Next, attach the other part of the bracket to the base.
NOTE: Use the drywall anchors included in the package if needed
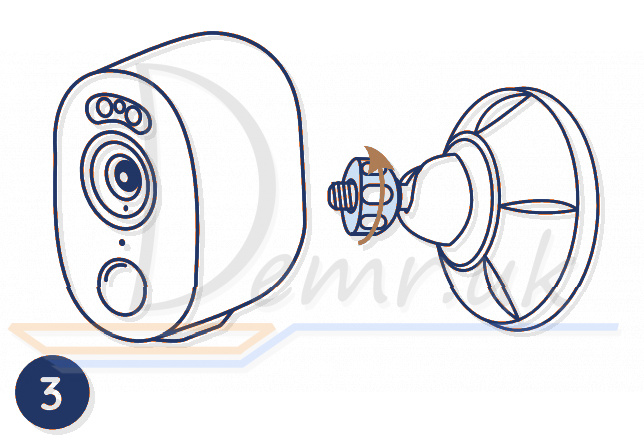
Screw the camera to the bracket.
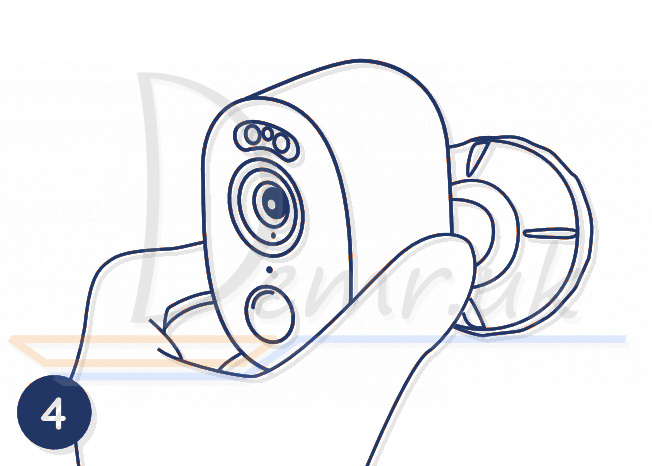
Adjust the camera angle to get the best field of view.
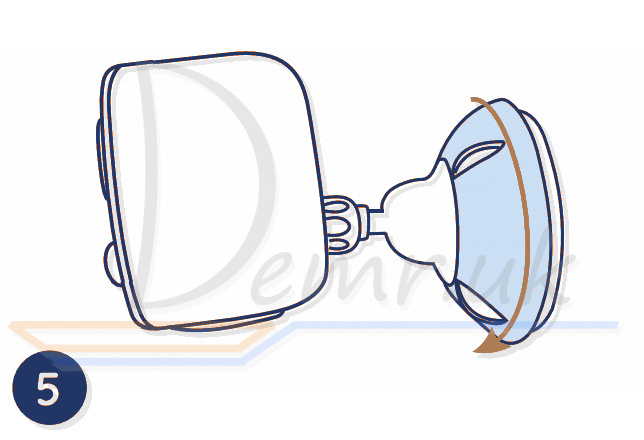
Turn the upper part on the bracket to secure the camera.
To adjust the camera angle later, please loosen the bracket by turning the upper part anticlockwise.
NOTE: If you own an Argus 3 Pro and would like to use the magnetic bracket to install it, please install the base of the bracket to the wall, and screw the magnet to the camera with a screw driver, then attach the camera to bracket.
Hang Reolink Argus 3 Pro Camera with the Hook
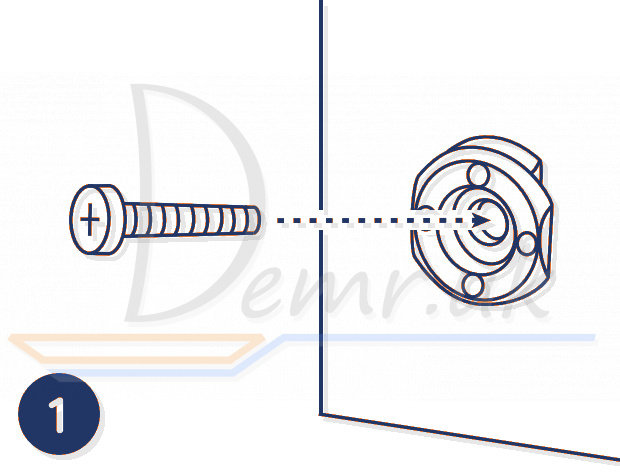
Screw the hook provided in the package to the wall.
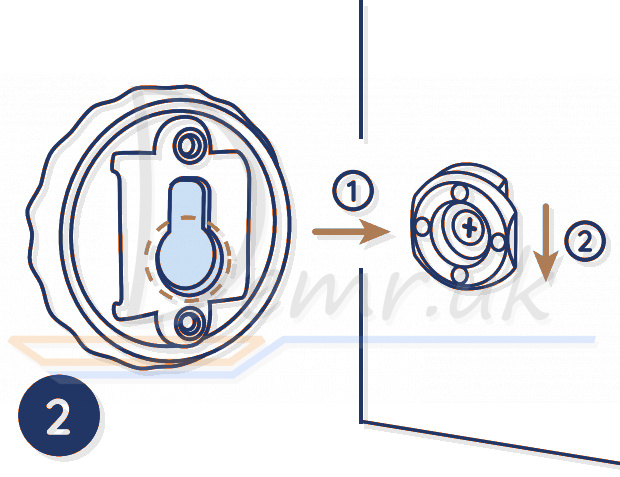
Hang the camera bracket on the hook.
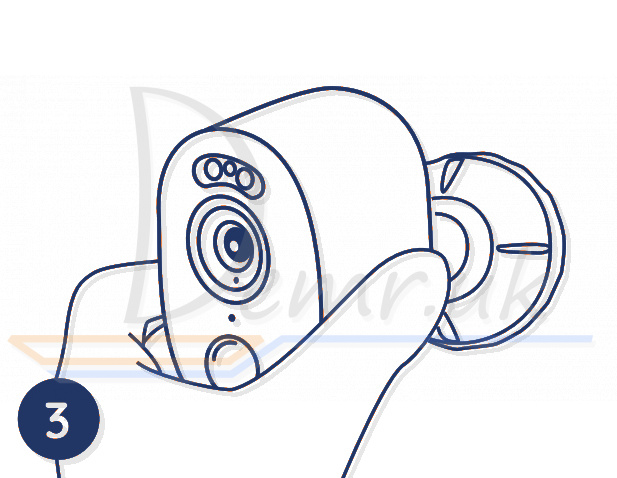
Attach the camera to the bracket and twist it to adjust direction.
Install Reolink Argus 3 Pro Camera with Loop Strap
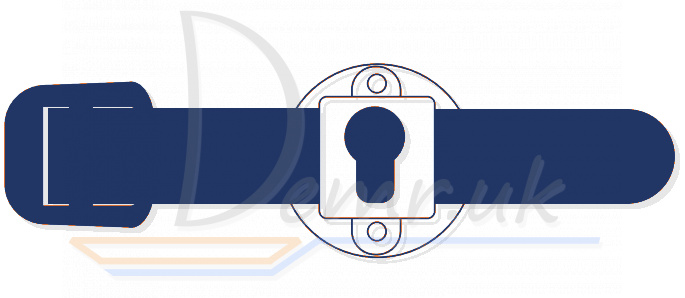
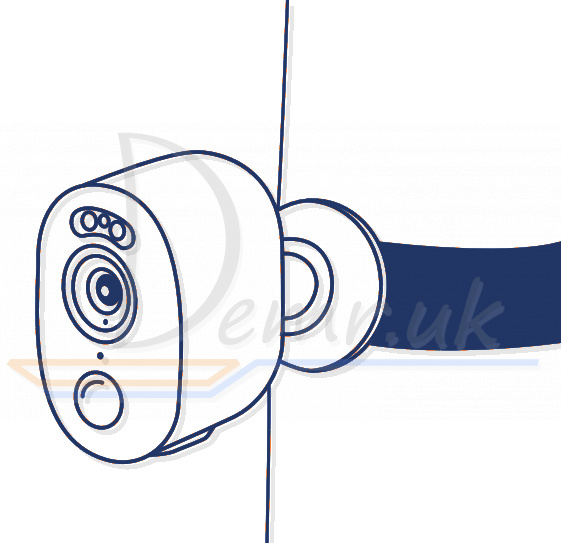
Thread the loop strap through the slots and fasten the strap. It is the most recommended installation method if you plan to mount the camera to a tree.
Place the Camera on a Surface
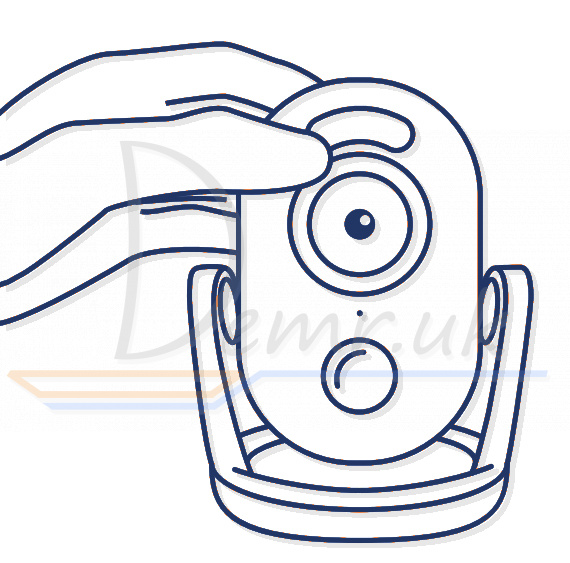
If you plan to use Reolink Argus 3 Pro camera indoors and put it on a flat surface, you may place the camera into the stand bracket and adjust the camera angle by slightly rotating the camera back and forth.
Safety Instructions of Battery Usage
Reolink Argus 3/Argus 3 Pro is not designed for running 24/7 at full capacity or around-the-clock live streaming. It's designed to record motion events and to live view remotely only when you need it. Learn useful tips on how to extend the battery life in this post: https://support.reoIinkcom/hc/en-us/articIes/360006991893
1. The battery is built-in, so do not remove it from the camera.
2. Charge the rechargeable battery with a standard and high-quality DC 5V/9V battery charger or Reolink solar panel. Do not charge the battery with solar panels from any other brands.
3. Charge the battery when temperatures are between 0°С and 45°С and always use the battery when temperatures are between -20°С and 60°С.
4. Keep the USB charging port dry, clean and free of any debris and cover the USB charging port with the rubber plug when the battery is fully charged
5. Do not charge, use or store the battery near any ignition sources, such as fire or heaters.
6. Do not use the battery if it gives off an odor, generates heat, becomes discolored or deformed, or appears abnormal in any ways. If the battery is being used or charged, remove the battery from the device or the charger immediately, and stop using it.
7. Always follow the local waste and recycle laws when you get rid of the used battery.
Troubleshooting - Reolink Argus 3 Pro
Camera Is Not Powering on
If your Reolink Argus 3 Pro camera is not turning on, please apply the following solutions:
• Make sure the power switch is turned on.
• Charge the battery with a DC 5V/2A power adapter. When the green light is on, the battery is fully charged
Failed to Scan QR Code on the Phone
If you cannot scan the QR code on your phone, please try the following solutions:
• Remove the protective film from the camera lens.
• Wipe the camera lens with a dry paper/towel/tissue.
• Vary the distance between your camera and the mobile phone so that the camera can focus better
• Try to scan the QR code under sufficient lighting.
Failed to Connect to WiFi During Initial Setup Process
If Reolink Argus 3 Pro camera fails to connect to WiFi, please try the following solutions:
• Ensure that you have entered the correct WiFi password
• Put the camera closer to your router to ensure a strong WiFi signal.
• Change the encryption method of the WiFi network to WPA2-PSK/WPA-PSK (safer encryption) on your router interface.
• Change your WiFi SSID or password and make sure that SSID is within 31 characters and password is within 64 characters.
• Set your password using only the characters available on the keyboard.
Specifications - Reolink Argus 3 Pro
Video
Video Resolution: 4MP at 15 frames/sec
Field of View: 122° diagonal
Night Vision: Up to 10m (33 ft)
PIR Detection & Alerts
PIR Detection Distance: Adjustable up to 10m (33ft)
PIR Detection Angle: 100° horizontal
Audio Alert: Customized voice-recordable alerts
Other Alerts: Instant email alerts and push notifications
General
Operating Temperature: -10°C to 55°C (14°F to 131°F)
Weather Resistance: lP65 certified weatherproof
Size: 121 x 90 x 56 mm
Weight (Battery included): 330g (116 oz)
Read also
Ring Stick Up Cam Battery (3rd Generation) Wi-Fi IP Camera - Manual
Read also
Installation guide - Reolink E1 Outdoor Camera. Mobile app, Specification...
Installation guide - Arenti GO1. How To connect to a Phone, Mounting...
How to use TP-LINK Tapo C200 Camera. Installation, Restore...
How to use Reolink Argus Pro WiFI Camera. Installation, Restore...
Ring Stick Up Cam Battery (3rd Generation) Wi-Fi IP Camera - Manual
Ratings
14 Best Indoor Wireless Security Cameras. Buy, Advantages...
