Reolink Go WiFi IP Camera - User Guide
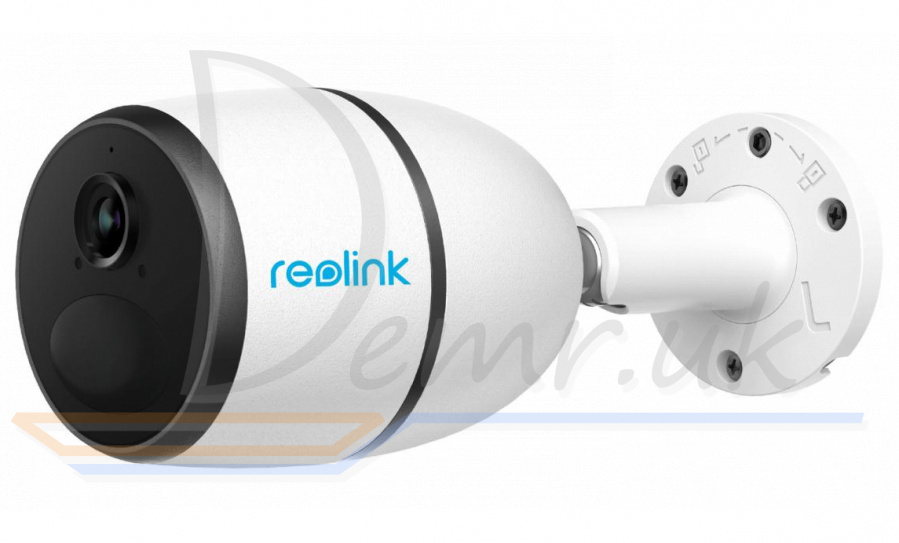
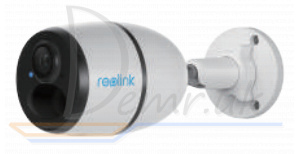
What's in the Box - Reolink Go Smart WiFi Outdoor Camera
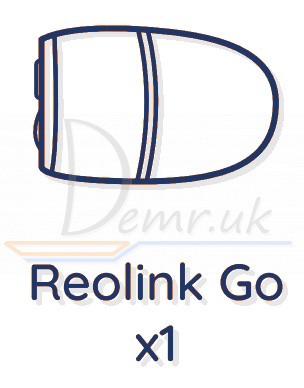
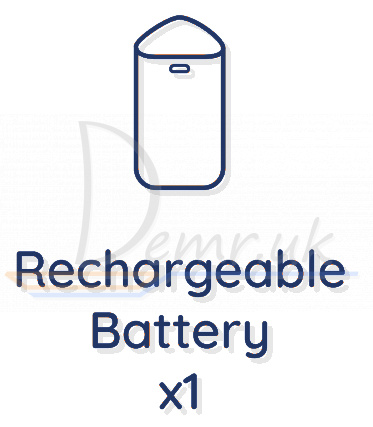


Reolink Go camera and the rechargeable battery are packed separately in the same package.
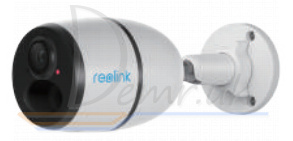
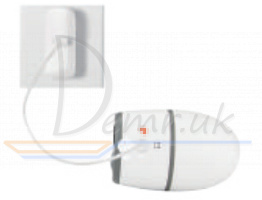
Please dress the camera with the skin for better weatherproof performance when you install the camera outdoors.
Read more about Reolink Go+SP (reviews, specifications, buy):
Camera Introduction - Reolink Go
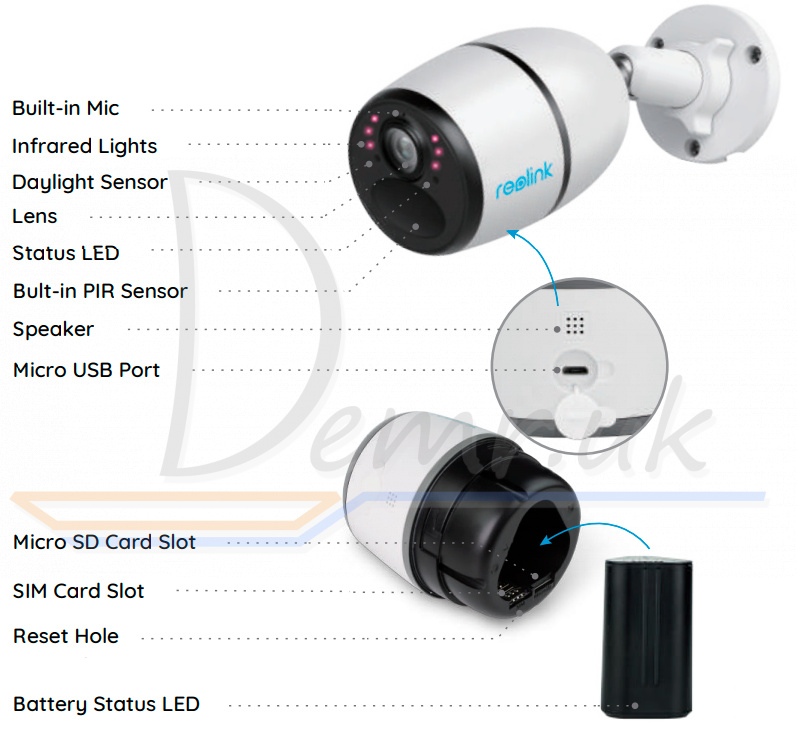
Factory Reset - Reolink Go Camera
Press the Reset button with a Pin to restore factory settings.
Set up the Camera
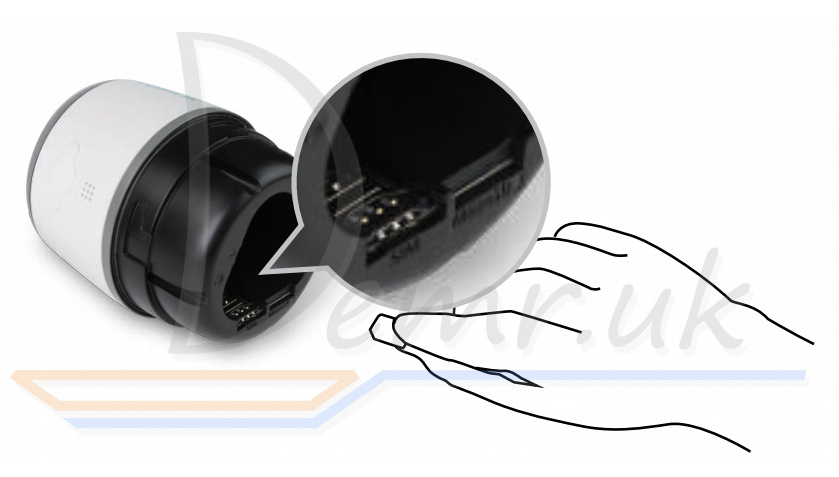
Activated the SIM Card for Reolink Go Camera
• The SIM card shall support WCDMA and FDD LTE.
• Activate the card on your smartphone or with your network carrier before inserting it into Reolink Go camera.
NOTE:
• Some SIM cards have a PIN code, please use your smartphone to disable the PIN first.
• Do not insert the IOT or M2M SIM into your smartphone.
Register on Network
1. Remove the back cover by rotating counterclockwise and insert the SIM card into the slot.
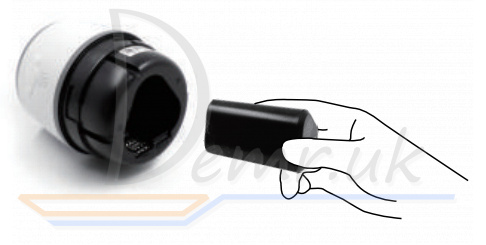
2. Insert the battery into Reolink Go camera and tighten the back cover to power on the camera.
3. A red LED will be on and solid for a couple of seconds, then it will go out.
4. "Network connection succeeded" A blue LED will flash for a few seconds and then go solid before going out, which means the camera has been successfully connected to the network.
How to connect Reolink Go Camera to a smartphone/PC
Download and Launch the Reolink App or Client software, and follow the onscreen instructions to finish initial setup.
On Smartphone
Scan to download the Reolink App.

On PC
Download path of the Reolink Client: Go to https://reolink.com > Support > Download Center
NOTE: Constant live streaming via the Client software or App will result in huge consumption of cellular data.
NOTE: You may also run into the following situations:
| Voice Prompt | Camera Status | Solutions | |
| 1 | "SIM card cannot be recognized" | Camera cannot recognize this SIM card. | 1. Check if the SIM card is facing the reverse direction. 2. Check if the SIM card is not fully inserted and insert it again. |
| 2 | "The SIM card is locked with a PIN. Please disable it" | Your SIM card has a PIN. | Put the SIM card into your mobile phone and disable the PIN. |
| 3 | "Not registered on network. Please activate your SIM card and check the signal strength" | Camera fails to register to the operator network. | 1. Check whether your card is activated or not. If not, please call your operator to activate the SIM card. 2. The signal is weak at the current position. Please move the camera to a location with better signal. 3. Check if you are using the correct version of the camera. |
| 4 | "Network connection failed" | Camera fails to connect to the server. | The camera will be in Standby mode and reconnect later. |
| 5 | "Data call failed. Please confirm your cellular data plan is available or import the APN settings" | The SIM card has run out of data or APN settings are not correct. | 1. Please check whether the data plan for the SIM card is still available. 2. Import the correct APN settings to the camera. |
Read more about Reolink Go+SP (reviews, specifications, buy):
Charge the Battery - Reolink Go
Charge the battery with a power adapter.
Battery can also be charged separately.
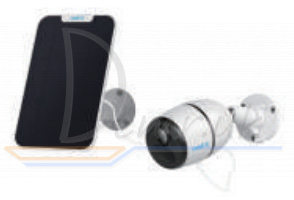
Charge the battery with the Reolink Solar Panel.
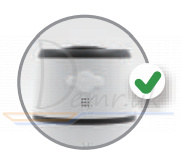
For better weatherproof performance, please always cover the USB charging port with the rubber plug after charging the battery.
Charging indicator: Orange LED: Charging
 Green LED: Fully charged
NOTE: The solar panel is NOT included in the package, you can buy one on Reolink official online stores.
How to install Reolink Go Camera
• Dress Reolink Go camera with the skin for better weatherproof performance when you install the camera outdoors.
• Install the camera 2-3 meters (7-10 ft) above ground. The detection range of the PIR sensor would be maximized at such a height.
• For effective motion detection, please install Reolink Go camera angularly.
NOTE: If a moving object approaches the PIR sensor vertically, the camera may fail to detect motion.
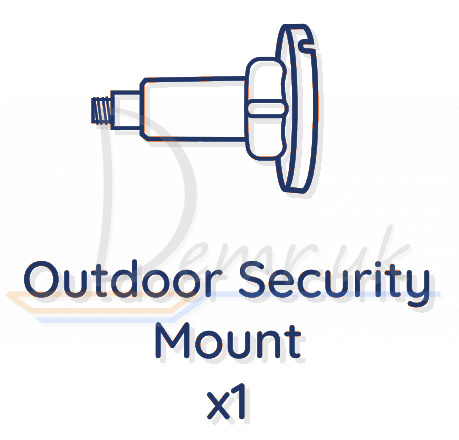
Mount Reolink Go Camera
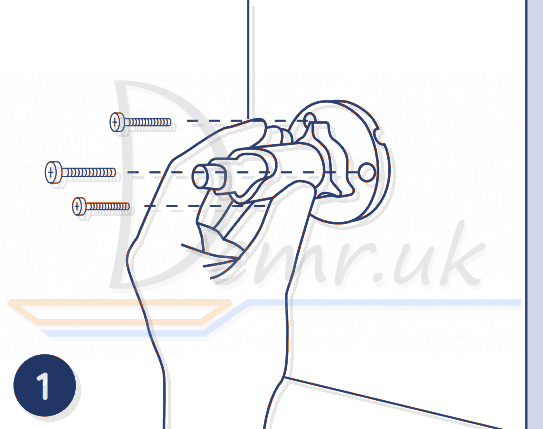
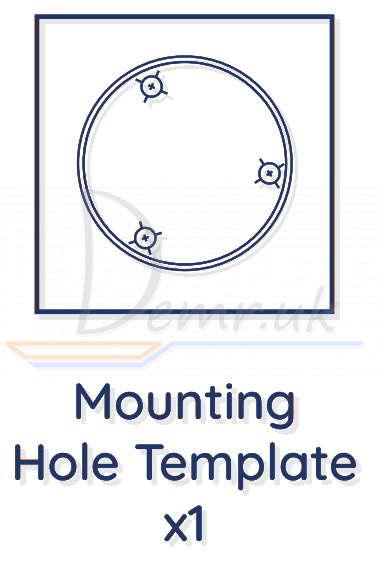
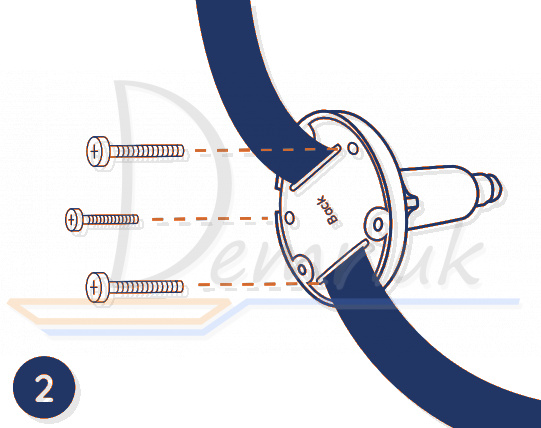
Drill holes in accordance with a mounting hole template and screw the security mount into the wall.
If you are mounting the camera on any hard surface, insert plastic anchors into the holes first.

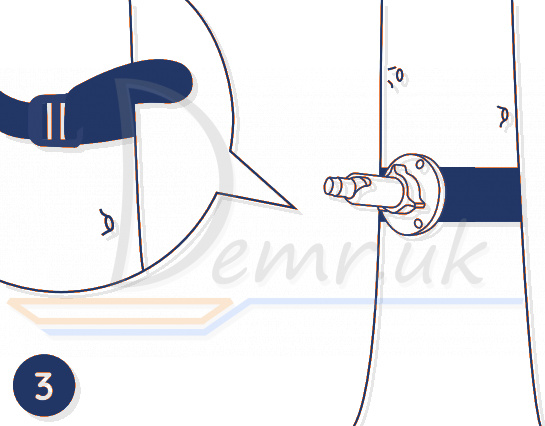
Install Reolink Go camera on the security mount.
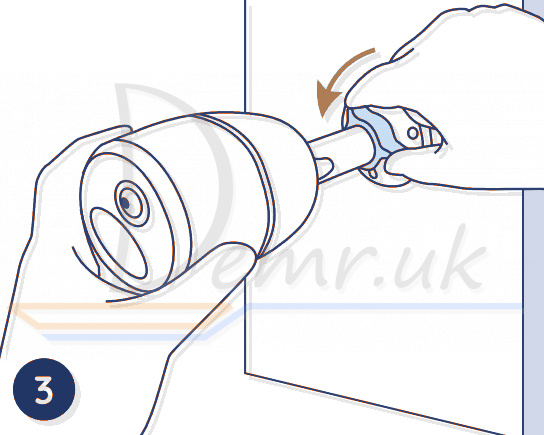
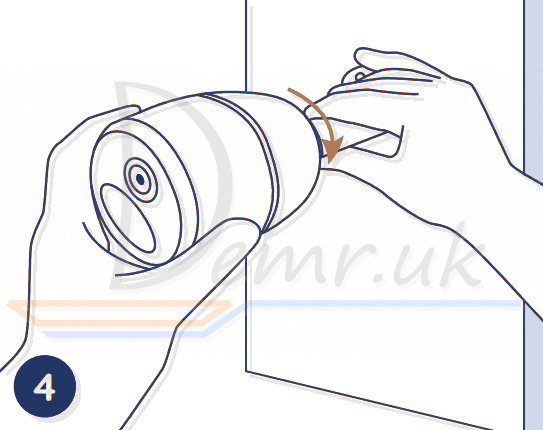
To get the best field of view, loosen the adjustment knob on security mount and turn the camera.
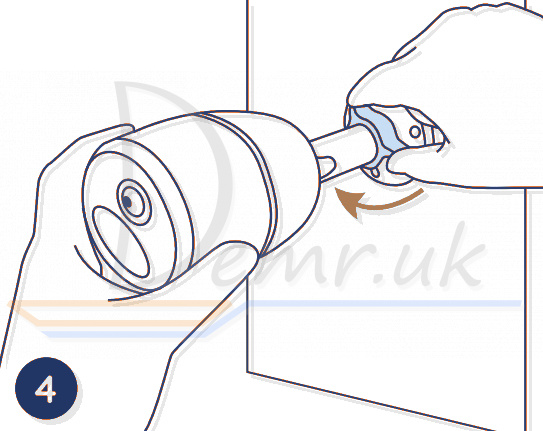
Stiffen the adjustment knob to lock Reolink Go camera.
Attach the Camera to a Tree
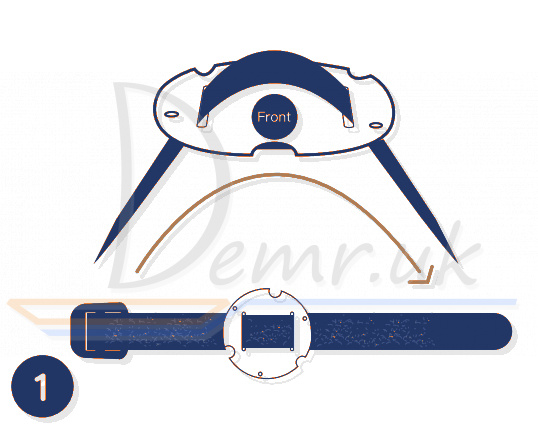
Thread the provided strap to the mounting plate.
Attach the plate to the security mount with the smaller screws.
Fasten the security mount to a tree.
Install Reolink Go camera and adjust the camera angles as instructed in step 2 & 4 in the previous installation guide.
Notes on PIR Motion Sensor
PIR Sensor Detection Distance
The PIR detection range can be turned to meet your specific needs. You may refer to the following table to set it up in Reolink App Device Settings.
| Sensitivity | Value | Detection Distance (For moving and living objects) |
| Low | 0 - 50 | Up to 5 meters (16ft) |
| Mid | 51 - 80 | Up to 8 meters (26ft) |
| High | 81 - 100 | Up to 10 meters (33ft) |
NOTE: Higher sensitivity ofgers longer detecting distance, but it would lead to more false alarms. It's recommended to set up the sensitivity level to “Low” or “Mid” when you install the camera outdoors.
Important Notes on Reducing False Alarms
• Do not face Reolink Go camera towards any objects with bright lights, including sunshine, bright lamp lights, etc.
• Do not place the camera too close to a place with heavytraffic. Based on our numerous tests, the recommended distance between the camera and the vehicle would be 16 meters (52ft).
• Do not place the camera near outlets, including the air conditioner vents, humidifier outlets, the heat transfer vents of projectors, etc.
• Do not install Reolink Go camera at places with strong wind.
• Do not face the camera towards a mirror.
• Keep the camera at least 1 meter away from any wireless devices, including WiFi routers and phones in order to avoid wireless interference.
Troubleshooting - Reolink Go
Reolink Go Camera is Not Powering on
If your Reolink Go camera is not powering on, please apply the following solutions:
• Make sure the battery is correctly inserted into the compartment.
• Charge the battery with a DC 5V/2A power adapter. When the green light is on, the battery is fully charged.
• If you have another spare battery, please swap the battery to have a try.
PIR Sensor Fails to Trigger Alarm
If the PIR sensor fails to trigger any kind of alarm within the covered area, try the following:
• Make sure that the PIR sensor or Reolink Go camera is installed in the right direction.
• Make sure the PIR sensor is enabled or the schedule is set up properly and running.
• Check the sensitivity settings and make sure it’s set up properly.
• Tap on Reolink app and go to Device Settings -> PIR Settings and make sure the corresponding action is checked.
• Make sure the battery is not deployed.
• Reset the camera and try again.
Unable to Receive Push Notification
If you fail to receive any push notification when motion is detected, try the following: • Make sure the push notification has been enabled.
• Make sure the PIR schedule is set up properly.
• Check the network connection on your phone and try again.• Make sure Reolink Go camera is connected to the Internet. If the LED indicator under the camera lens is solid red or flickering red, it means that your device disconnects from the Internet.
• Make sure you’ve enabled Allow Notifications on your phone. Go to the System Settings on your phone and allow Reolink App to send push notifications.
Specifications - Reolink Go
Video
Video resolution: 1080p HD at 15 frames/sec
Field of View: 110° diagonal Night Vision: Up to 10m (33 ft)
PIR Detection & Alerts
PIR Detection Distance: Adjustable up to 10m (33ft)
PIR Detection Angle: 120° horizontal
Audio Alert: Customized voice-recordable alerts
Other Alerts: Instant email alerts and push notifications
General
Operating Temperature: -10°C to 55°C (14°F to 131° F)
Weather resistance: IP65 certified weatherproof
Size: 75x113 mm
Weight (Battery included): 380g (13.4oz)
Read more about Reolink Go+SP (reviews, specifications, buy):
Read also
Ring Stick Up Cam Battery (3rd Generation) Wi-Fi IP Camera - Manual
Read also
How to use Victure PC420 WiFI IP Camera. How to mount, Mobile app...
Installation guide - Reolink E1 Outdoor Camera. Factory reset, Connecting to a phone...
Installation guide - Arenti GO1. Factory reset, Connecting to a phone...
How to use TP-LINK Tapo C200 Camera. How To connect to a Phone, Mounting...
Ratings
26 Best Smart Security Cameras. Buy, Advantages...
15 Best Outdoor Wi-Fi Security Cameras. Reviews, Characteristics...
14 Best Indoor Wireless Security Cameras. Reviews, Characteristics...
Demr.UK is a participant in the Amazon Services LLC Associates Program, an affiliate advertising program designed to provide a means for sites to earn advertising fees by advertising and linking to products on Amazon.com. Amazon and the Amazon logo are trademarks of Amazon.com, Inc, or its affiliates.