Foscam C1, C2 quick installation guide.
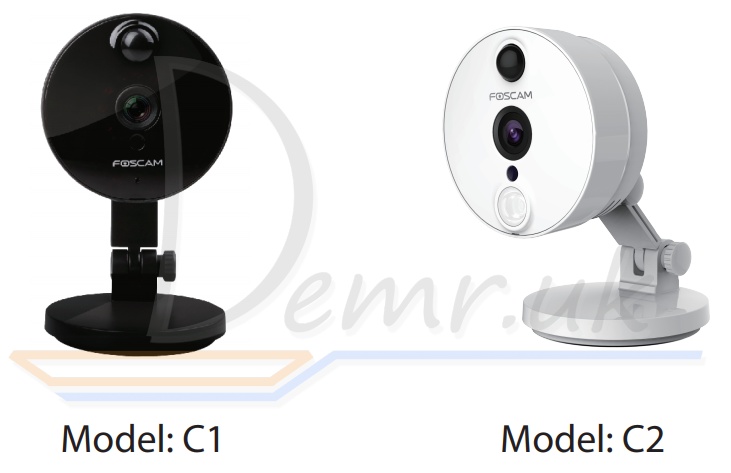
Setting Up Your Foscam Security Camera
A. Getting Started
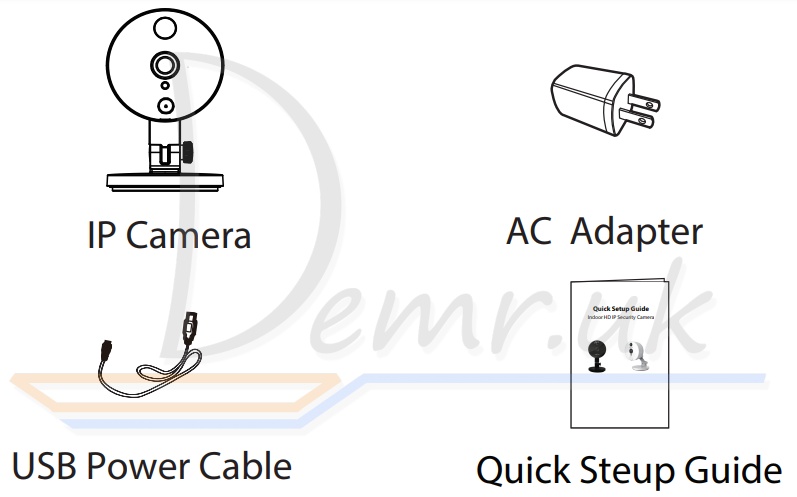
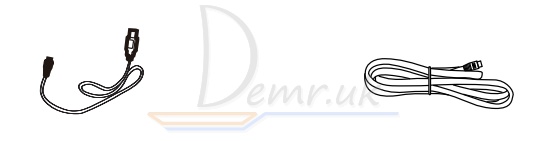
Package Contents
Security Tips
-Please change the password of your camera regularly, using a combination of numbers, letters and special characters.
-We recommend that you regularly update your camera to the latest available software and firmware versions to help ensure the best experience for your camera.
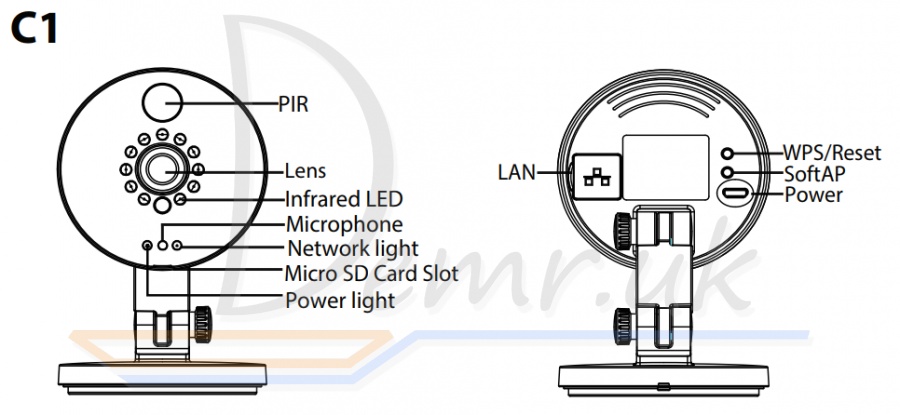
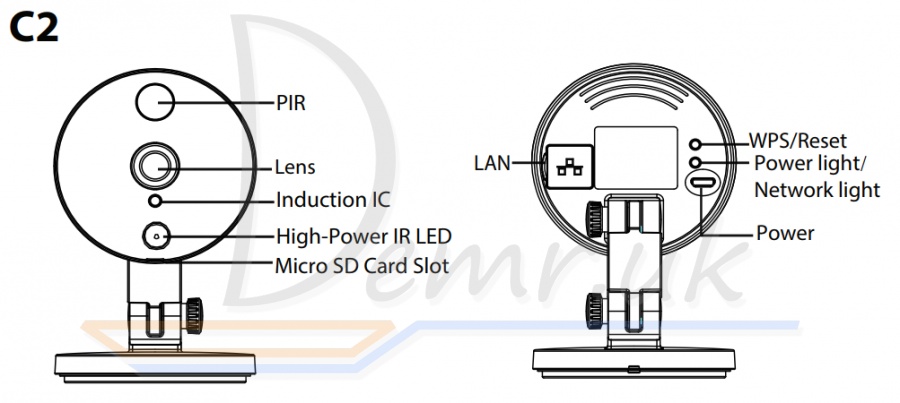
B. Physical Description
Warning:
The cords on this product presents a potential strangulation hazard. For child safety, please keep these cords out of the reach of children.
C. Setting Up Your Camera: Wired Connection via Foscam App (Recommended)
Note: We highly recommend that you rst begin the setup process by connecting your camera to your Internet router with an Ethernet cable. After setup is successful, you’ll be able to unplug the cable and login to your wireless network for WiFi operability.
Minimum Requirements: To help ensure a smoother video experience on the smartphone, it’s recommended that your smartphone has the following:
- iOS: version 8.1 or higher.
- Android: 4.1 or higher, using a device with a Graphics Processing Unit (GPU) function.
Camera Setup Steps
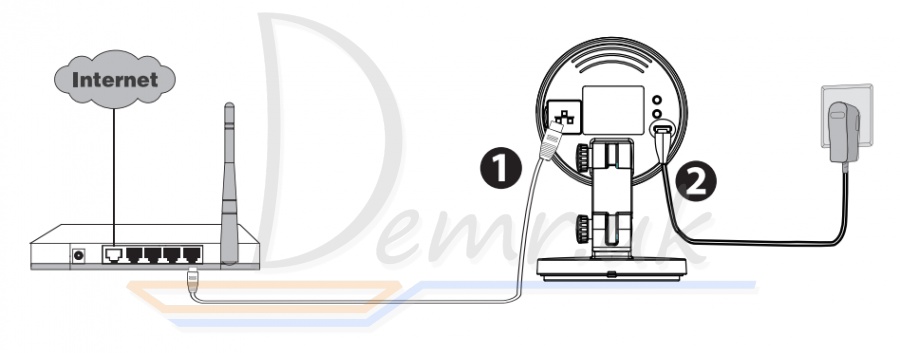
1. Connect the camera to your Internet router using an Ethernet cable.
2. Connect the power adapter to the camera, and wait for a few moments until the camera alerts you that the “Wired connection succeeded”
3. From your smartphone, search for “Foscam”  via the App Store or Google Play Store. Download, install and open the App to begin conguration.
4. Under “Foscam” select “Tap to add a camera” and then select "Camera", after that scan the QR code, which is located at the bottom of your camera (see illustrations below).

Tap + button
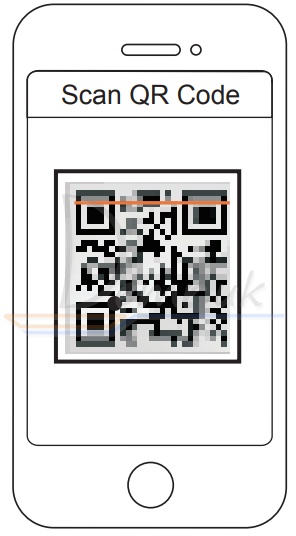
Scan the QR code which is located at the bottom of your camera.
5. On the “Choose Setup Method” screen, confirm that “Wired” is selected (upper-left corner) and tap “Ready for Wired Connection.” Wait a few moments for a message confirming that the setup process has been completed (see illustrations below).
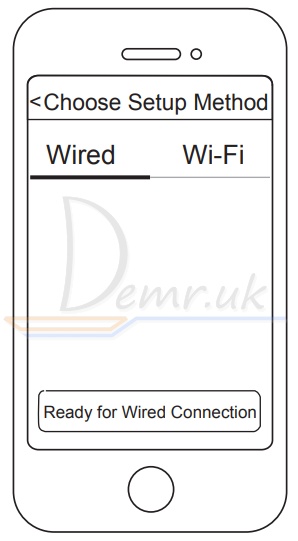
Confirm “Wired” and then tap “Ready for Wired Connection”
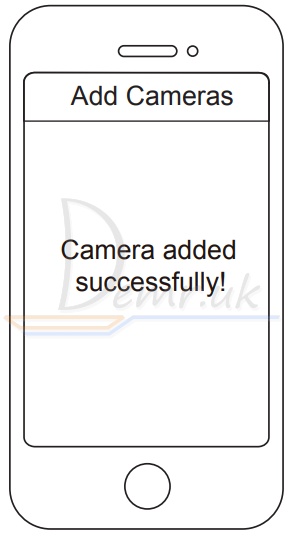
Camera added successfully
D. Connecting Your Camera Over WiFi
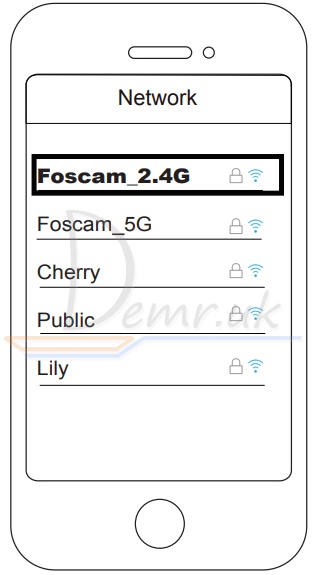
Once you’ve added your camera successfully using the wired connection method above, tap your live camera feed from the “My Cameras” screen tap the gear in the upper-right tap “Network” tap the WiFi network you wish to connect to and enter your WiFi password.
Note: You’ll need to connect to the 2.4GHz network if your wireless router is dual-band—most newer models have 2.4GHz and 5GHz channels (see illustration below).
E. Other Ways to Access Your Camera
Foscam Cloud Service 
You can access the camera via the Foscam Cloud website: www.myfoscam.com
Some of the benets of viewing your camera in the cloud:
- It’s simple and convenient to remotely access and manage all your WiFi security cameras.
- Enjoy the latest features rst through Foscam Cloud including cloud storage, video sharing, and more.
- Getting started is fast—if you have already registered an account through Foscam App, you can directly use your login credentials for Foscam Cloud.
Web User Interface 
(e.g.Internet Explorer/Edge/Chrome/Firefox/Safari)
If you would like to manage your camera more professionally, we suggest you access your camera via browser. You can download the “Equipment Search Tool” from foscam.com/tools to your computer, then access the camera directly.
F. Hardware Installation

1. Rotate the base of the camera until points a and b are aligned, this allows for the mounting plate to be removed.
2. Install the mounting plate on a wall or ceiling with supplied fixing screws.
3. Align points a and b to insert the camera base to the mounting plate. Rotate so that points a and b are no longer aligned, this attaches the camera securely to the base.
G. Important Notice
Camera Username & Password
The camera username & password are used to access and manage your camera. Having a strong password can improve the security of your camera significantly.
If you have forgotten either of them, please press and hold the "Reset" button on the camera while it’s powered on to restore it to factory default settings. After hearing the voice prompt, release the button. The camera will automatically reboot and the default settings will be restored. The default username / password will then become admin / (blank), respectively.
After restoring to the factory default settings, please delete the camera from Foscam App, and then add it again.
Foscam Cloud Service Account
Username & Password
Your Foscam Cloud service account and password may be used to access both Foscam App and the Foscam Cloud service website. Therefore, you may register the account username & password on either one.
Storage Media
Your camera supports cloud, NVR (Network Video Recorder), and Micro SD card (only supports FAT-32 format) storage formats. If you wish to record and playback large amounts of video, we recommend using a Foscam NVR device as well.
Firmware Upgrades
You can upgrade the firmware of your camera with Foscam App by using the new “one-key-Online Upgrade” feature (Open Foscam App, select “Settings” > “Firmware Upgrade”). You also can download the latest version to upgrade your camera from our official website foscam.com/upgrades.
Safety Tips
- Please ensure that the proper power supply is used before using the camera.
- Please install the camera and bracket securely using the screws provided.
- To avoid the risk of re or electric shock, please keep your camera in a cool, dry place.
- Please keep the camera out of reach of small children.
- Change your default port to a greater range to help ensure the safety of your connection.
- Check the logs of your Foscam cameras frequently. Foscam Cameras have embedded logs reminding you which IP addresses are accessing the camera.
Read also Sricam IP Camera - User Manual
Read also
Sricam CMS Manual - PC Software
Xiaomi Mi Mijia Smart Home Camera 360° - manual
Ratings
14 Best Indoor Wi-Fi IP Security Cameras. Reviews, Characteristics...
15 Best Outdoor Wireless Security Cameras. Reviews, Characteristics...