How To Install Reolink Argus Pro WiFi IP Camera
How to Install Reolink Argus Pro (Argus 2) Camera

• Use Reolink Argus Pro camera skin for better weatherproof performance when you install the camera outdoors.
• Install Reolink Argus Pro (Argus 2) camera 2-3 meters (7-10 ft) above ground. The detection range of the motion sensor would be maximized at such a height.
• For effective motion detection, please install the camera angularly.
NOTE: If a moving object approaches the PIR sensor vertically, the camera may fail to detect motion.
Mount Reolink Argus Pro Camera into a Wall
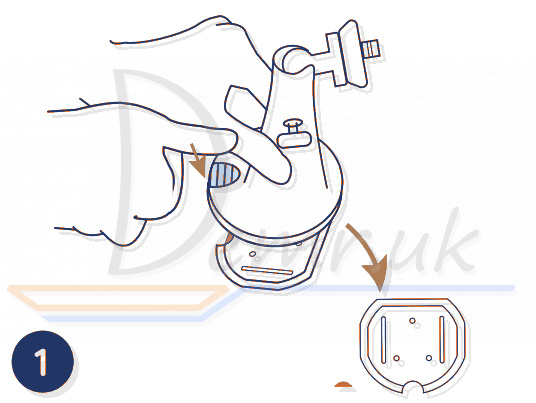
Press the button to release the plate from the security mount.
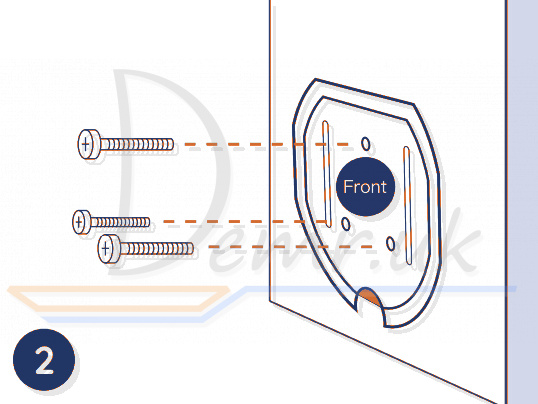
Screw the security mount plate into the wall.
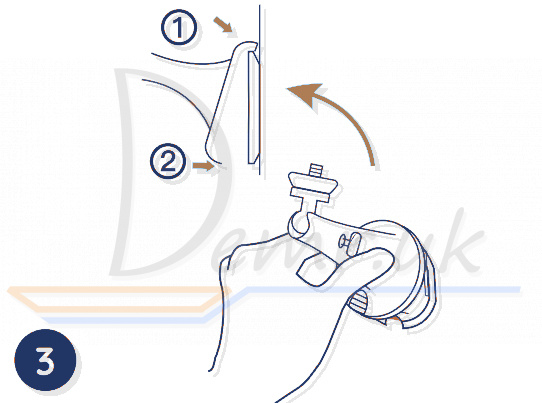
Lock the security mount on its plate. (Make sure the top edge of the plate is inserted into the mount.)
Press the security mount button until its plate clicks into the mount.
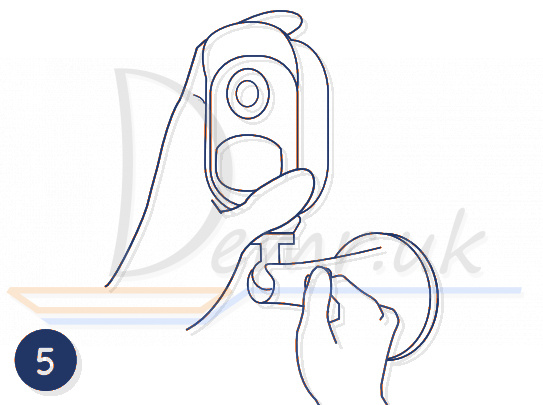
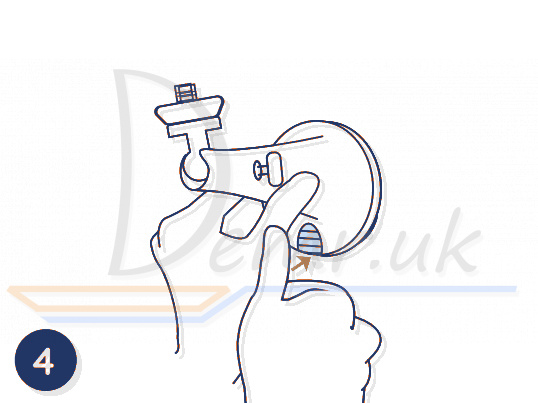
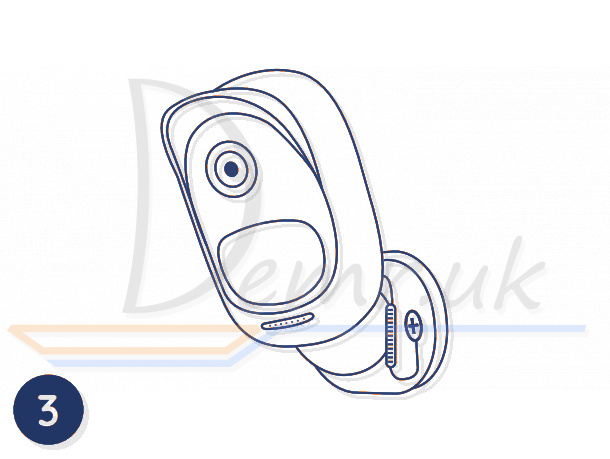
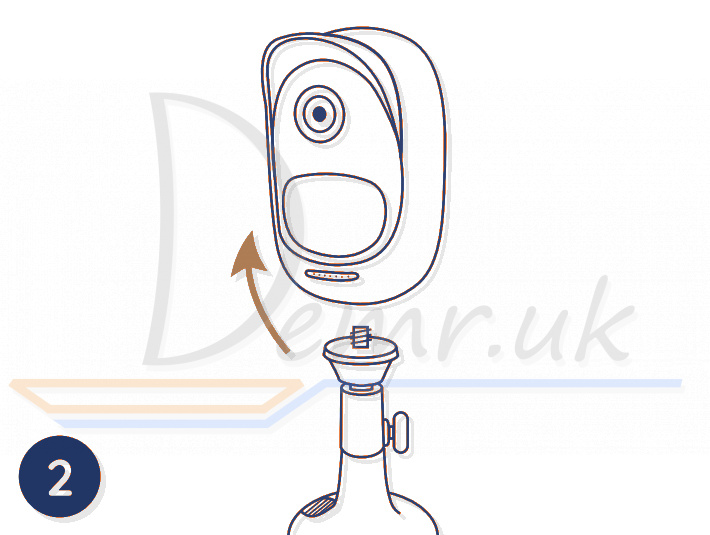
Screw the camera, adjust its angle and tighten the knob to lock it.
Attach Reolink Argus Pro (Argus 2) Camera to a Tree
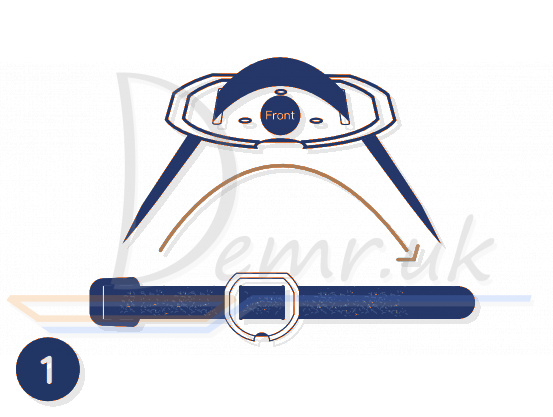
Thread the provided strap to the mounting plate.
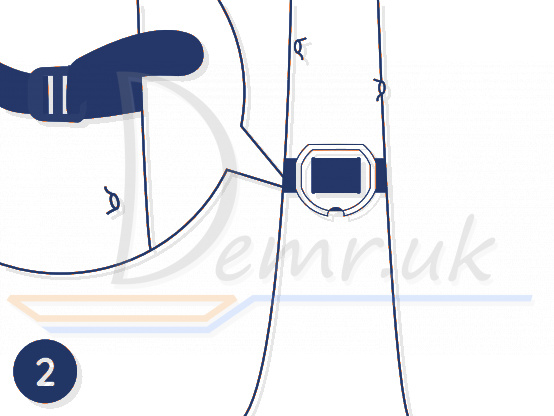
Fasten the mounting plate to a tree.
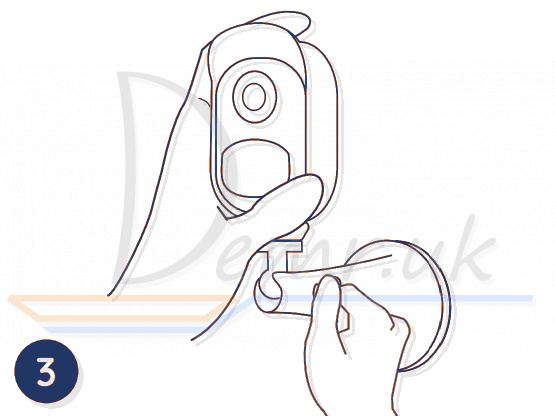
Follow the steps 3-5 in the wall mounting to finish installation.
Magnet (for Argus 2 only)
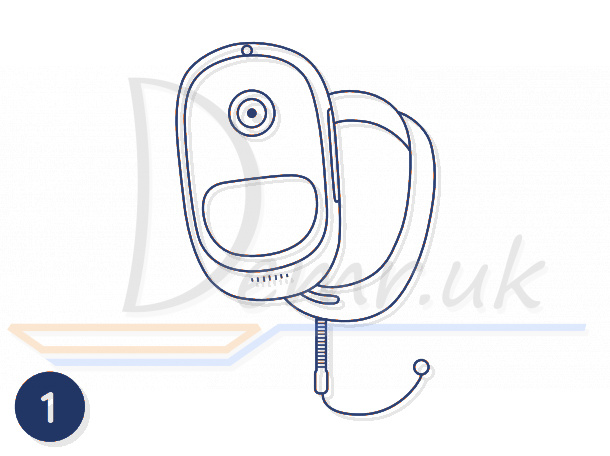
Put up the skin, provided in the package, for Reolink Argus 2 camera.
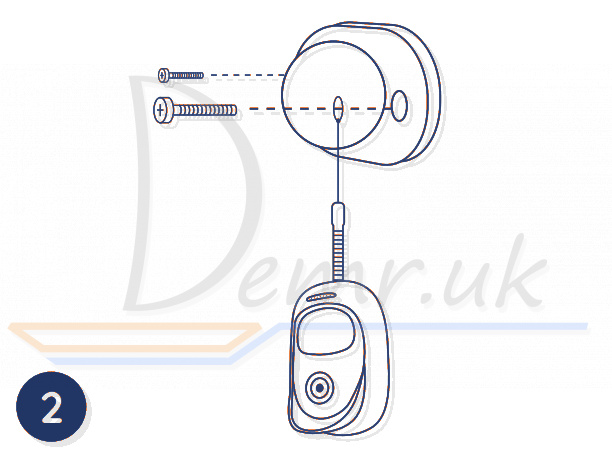
There is an anti-falling safety rope. Please fasten the other end of the rope to the wall mount when mounting it into a wall.
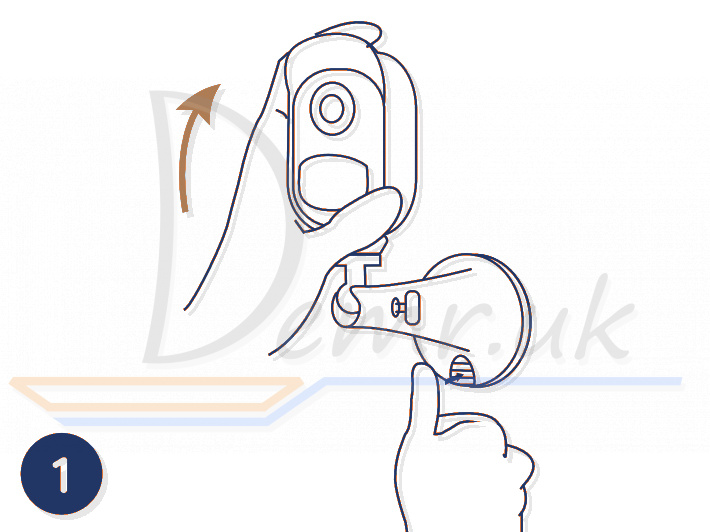
Stick the camera to the wall mount and twist the camera to adjust direction.
Remove the Camera
Press the security mount button to remove the mount out.
Unscrew the camera from the security mount.
Read more: Installation guide - Reolink Argus Pro WiFI Camera. Factory reset, Connecting to a phone...
Ratings
14 Best Indoor Wireless Security Cameras. Buy, Reviews...