How To Install Reolink Argus 3 Pro WiFi IP Camera
Install the Camera - Reolink Argus 3 Pro
Notes on Camera Installation Position
• Install Reolink Argus 3 Pro camera 2-3 meters (7-10ft) above the ground to maximize the detection range of the PIR motion sensor.
• For effective motion detection, please install the camera angularly.
NOTE: If a moving object approaches the PIR sensor vertically, the camera may fail to detect motion.
Mount the Camera to the Wall
It is suggested to use the security bracket to install the camera when mounting it outdoors.
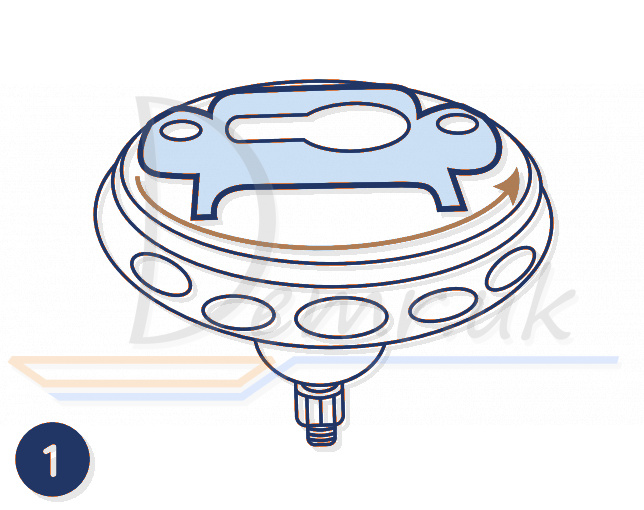
Rotate the base to separate it from the bracket.
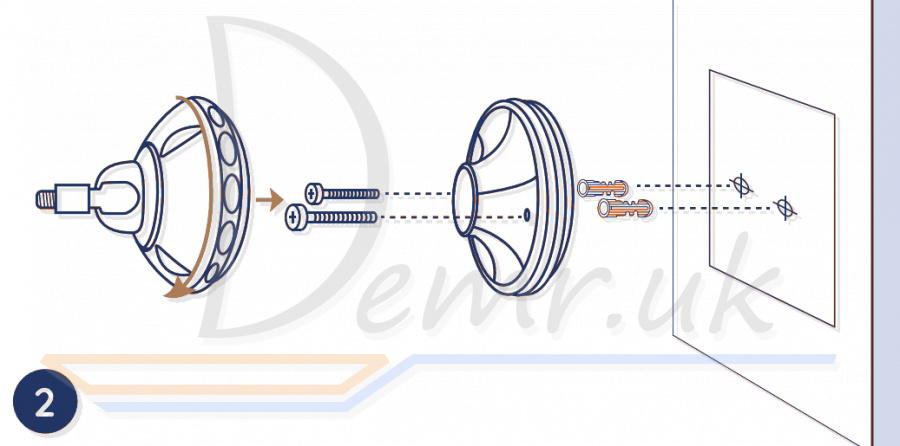
Drill holes in accordance with the mounting template and screw the base of the bracket to the wall. Next, attach the other part of the bracket to the base.
NOTE: Use the drywall anchors included in the package if needed
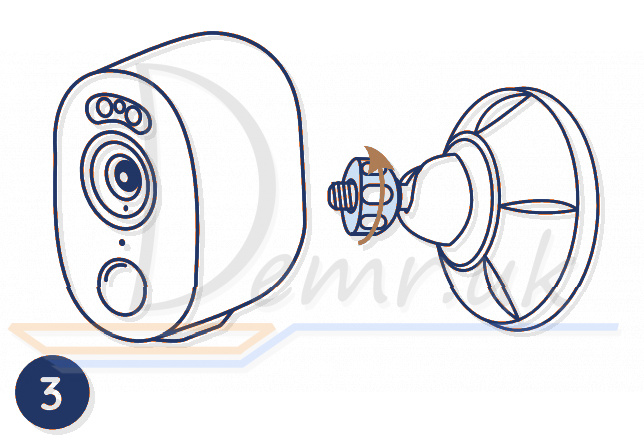
Screw the camera to the bracket.
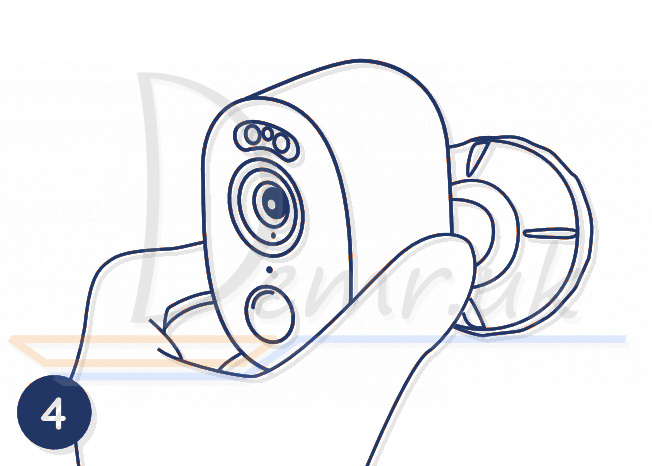
Adjust the camera angle to get the best field of view.

Turn the upper part on the bracket to secure the camera.
To adjust the camera angle later, please loosen the bracket by turning the upper part anticlockwise.
NOTE: If you own an Argus 3 Pro and would like to use the magnetic bracket to install it, please install the base of the bracket to the wall, and screw the magnet to the camera with a screw driver, then attach the camera to bracket.
Read more: User manual - Reolink Argus 3 Pro. Mobile app, Specification...
Ratings
Top 14 Best Indoor Wi-Fi IP Security Cameras. Reviews, Characteristics...
15 Best Outdoor Wireless Security Cameras. Reviews, Characteristics...